Roof By Extrusion Revit 2020

Revit Roof By Extrusion A How To Guide Youtube

Revit Roof Series Part 2 Roof By Extrusion Youtube
Create A Roof By Extrusion Revit Products 2018 Autodesk Knowledge Network

Https Encrypted Tbn0 Gstatic Com Images Q Tbn 3aand9gct54 Aamy 34vza51h9ydboct5c4nwlm34bjw Usqp Cau

Revit Architecture Roof By Extrusion Bimscape

10 Revit Tutorial Roofs Part 2 Roof By Extrusion Youtube
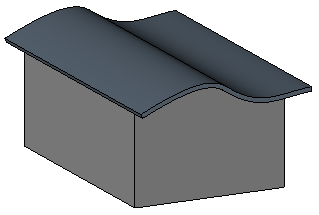
Sloped edges on a roof sketch line create a sloped roof.
Roof by extrusion revit 2020.

Revit Lesson 06 Roof Roof By Foot Print Roof By Extrusion Work Plan Tamil Youtube

Roofs Revit Products 2019 Autodesk Knowledge Network
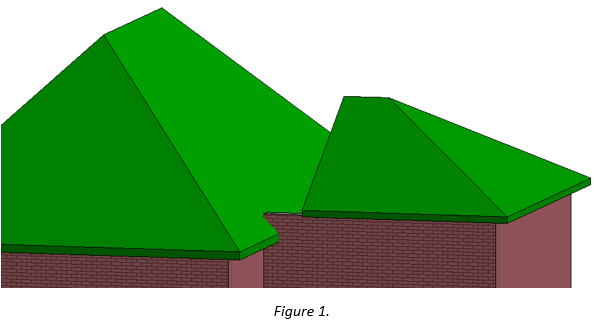
Revit Architecture 2020 Joining Roofs Cadline Community

Solved Join Roof Issue Autodesk Community Revit Products
Source : pinterest.com
